Snowflake Getting Started

This Snowflake Getting Started tutorial will be a demonstration on how to use some of the Snowflake tools and services. I suggest to follow along the hands on part to better understand how the components are related (E.g. Import Process of a file to a Staging location and copy to into a table). And to quickly get familiar with their interface.
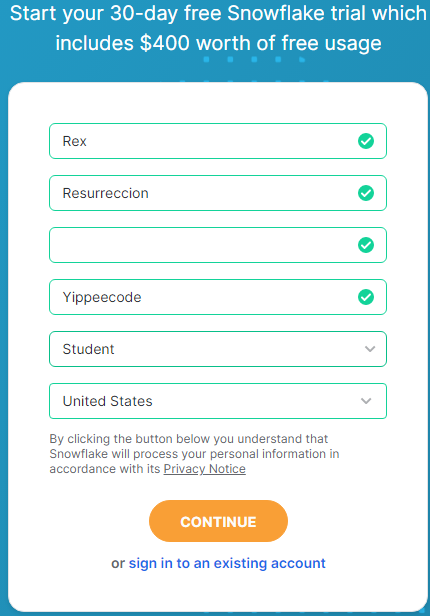
The first thing we have to do is sign up for a trial account in Snowflake. There are three Snowflake editions that you could choose from Standard, Enterprise and Business Critical. Depending on what you select, each edition offers different features, compute power, support, security, capacity and so on. And of course, it drives up the unit costs for the credits, data storage, region and if you select On Demand or Capacity account.
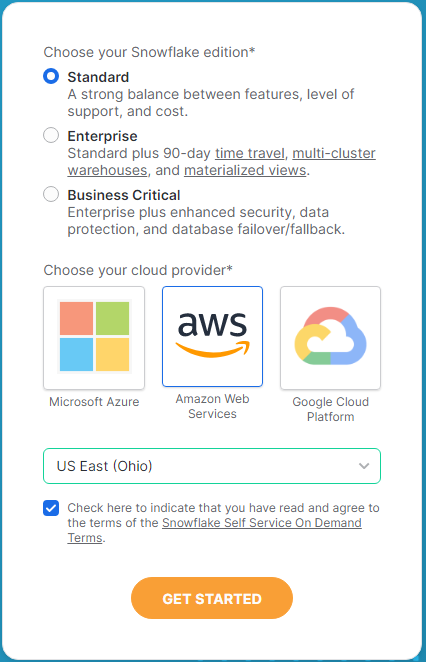
To get started, I will recommend to select only the Snowflake Standard Edition and to also conserve the free credits in a trial account. My cloud provider will be Amazon Web Services (AWS). Then select the applicable region for your AWS account.
After you sign up, make sure that you take note of your account name (E.g. abcdefg-zz11111). You will need this to go to your account login page and also when you use SnowSQL later in this tutorial.
From the date I wrote this Blog, Snowflake has two different versions of their Web Interface. The Classic and Snowsight. For this tutorial, we will be exploring their Snowsight interface.
To get started using Snowflake, I want to focus on the main components of their service for managing data, loading and unloading of data and what tools are available to access the database.
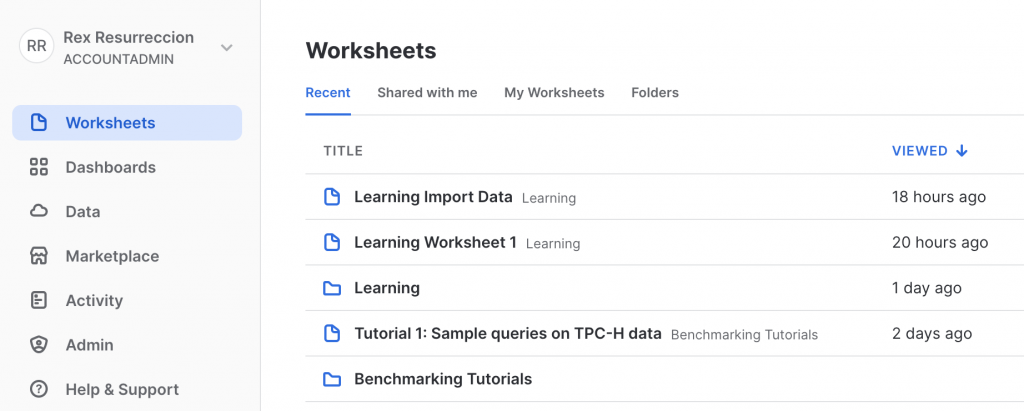
Snowflake Web Interface – Worksheets
The first section I will access is the Worksheets. This is where you can run your SQL queries, commands for data loading, definition, and manipulation tasks. It allows you to add multiple worksheets, write and save your queries/commands for quick access and organize your worksheets inside a folder.

Virtual Warehouse
The Warehouse is a cluster of computing resources that executes your database queries, DML operations and access your data from tables. A warehouse provides the required resources for execution such as CPU, memory, and temporary storage. Here are some Snowflake Warehouse commands we can use.
Create and use a Snowflake warehouse.
create warehouse learning1 with WAREHOUSE_TYPE = 'STANDARD' WAREHOUSE_SIZE = 'XSMALL';
Show existing and current Snowflake warehouses.
show warehouses;
select current_warehouse();

A quick note about the state of Warehouses. Snowflake has a feature that automatically suspends a warehouse when idle in a given time and restarts when used again. This is a nice feature to enable to help you conserve billing credits in your account.

Delete a Snowflake warehouse
drop warehouse learning2;
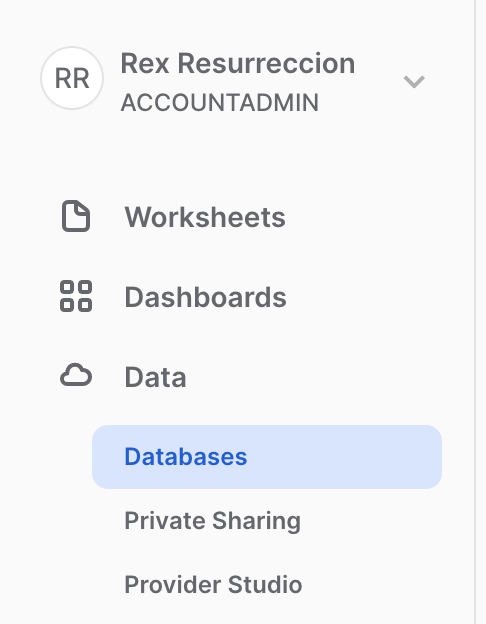
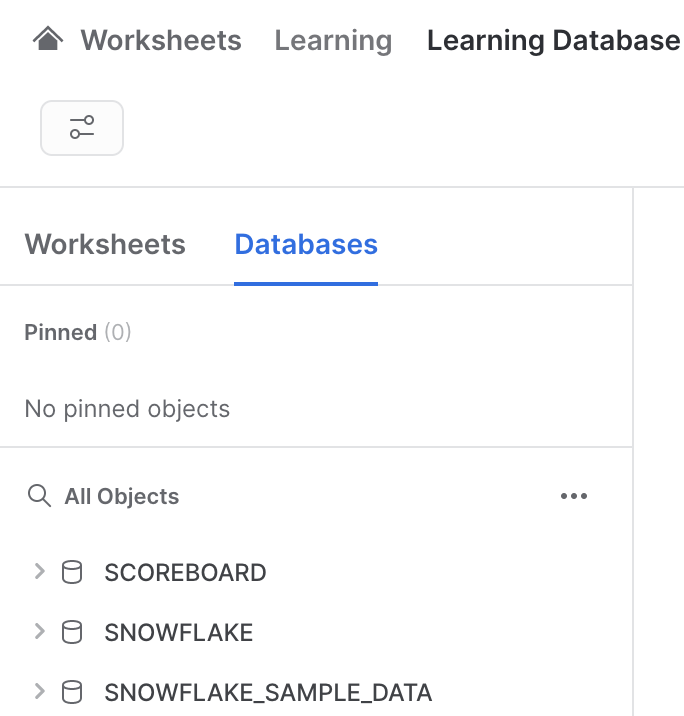
Snowflake Web Interface – Data
The Data section is where you can view and manage your database schemas.
Snowflake Database
A Snowflake database supports several common constraints from an RDBMS such as Primary Key, Unique Key, Foreign Key and Not Null. Although these constraints aside from Not Null , are not enforced. Meaning Snowflake will not raise an error if you violate the constraint. It is used only for documenting schema. Here are some Database queries and DML you can use in Snowflake.
Create and use Snowflake database and table.
create database scoreboard;
use database scoreboard;
create or replace table team_standing (
id INTEGER NOT NULL,
team VARCHAR(50) NOT NULL,
game_result VARCHAR(50) NOT NULL,
timestamp TIMESTAMP NOT NULL
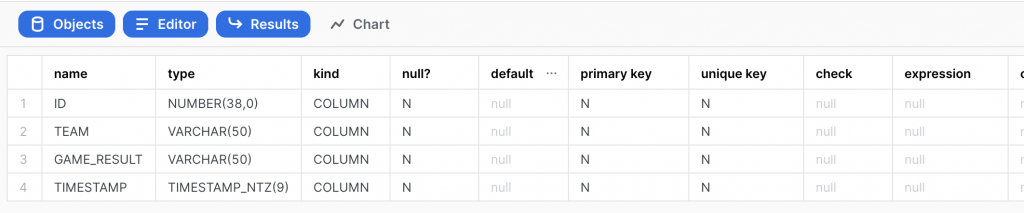
);Show databases, tables and table schema.
show databases;
show tables;
describe table team_standing;

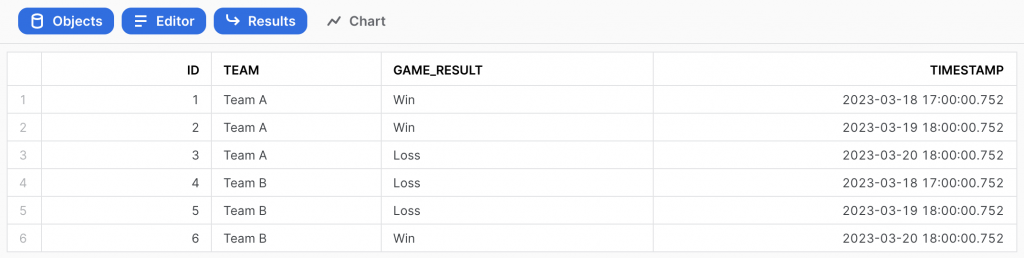
Insert and query records in the Snowflake database to generate a chart from the result.
insert into team_standing values(1, 'Team A', 'Win', '2023-03-18T17:00:00.752Z');
insert into team_standing values(2, 'Team A', 'Win', '2023-03-19T18:00:00.752Z');
insert into team_standing values(3, 'Team A', 'Loss', '2023-03-20T18:00:00.752Z');
insert into team_standing values(4, 'Team B', 'Loss', '2023-03-18T17:00:00.752Z');
insert into team_standing values(5, 'Team B', 'Loss', '2023-03-19T18:00:00.752Z');
insert into team_standing values(6, 'Team B', 'Win', '2023-03-20T18:00:00.752Z');
select team, count(id) from team_standing where game_result = 'Win' group by team;


Data Loading and Unloading
What we have done so far in my previous example was to directly insert records in a database table. But a very common scenario would be loading or unloading bulk records from or to a file. In order to execute such operation, you will need to create a staging location where you can first store your data files. And once a data file has been staged, you can copy this into a database table or vice versa copy the file externally.
Snowflake Stage Management
Snowflake supports two types of stages for loading and unloading of data. Internal stage is managed by Snowflake within your account. External stage on the other hand, references data files stored in a location outside of Snowflake such as AWS S3 bucket, Google Cloud Storage and Microsoft Azure containers. Both can support different file formats like JSON or CSV formats.
For the next couple operations to Upload and Download files in and out of my Snowflake account. I will be using the SnowSQL client CLI tool. This will allow us to run commands directly from CLI to interact with Snowflake objects such as warehouse, database, staging, etc. You can download the installer from their official website.
Snowflake Internal Stage – Upload JSON data from local file
In this example, I will be importing database records from a local JSON file.
The first step is to use the database scoreboard where I want my data files to be staged for copying later into a database table. Also, checking the schema of my table team_standing to make sure that it matches the attribute names in my JSON objects.
use database scoreboard;
describe table team_standing;
Example records in my JSON file.
{"game_result":"Win","id":1,"team":"Team A","timestamp":"2023-03-18 17:00:00.752"}
{"game_result":"Win","id":2,"team":"Team A","timestamp":"2023-03-19 18:00:00.752"}
{"game_result":"Loss","id":3,"team":"Team A","timestamp":"2023-03-20 18:00:00.752"}
{"game_result":"Loss","id":4,"team":"Team B","timestamp":"2023-03-18 17:00:00.752"}
{"game_result":"Loss","id":5,"team":"Team B","timestamp":"2023-03-19 18:00:00.752"}
{"game_result":"Win","id":6,"team":"Team B","timestamp":"2023-03-20 18:00:00.752"}
Next is to create an Internal staging location. Again, it is required that you specify first the location where the stage will be created. Although you can create a separate named file format for your stage, in here I am applying the FILE_FORMAT option explicitly in my stage.
create or replace stage team_standing_stage
  FILE_FORMAT = (type = 'JSON');
show stages;

To upload the JSON file from my local computer, I will be signing into my account using snowsql. This command will prompt for your Account Name (E.g. abcdefg-zz11111) and Password.
snowsql -u <yourusername> -P
Once signed into snowsql, to execute the upload operation, I will use the PUT command. Then specifying the full path of the file and the name of the stage where it will be stored.
use database scoreboard;
show stages;
PUT file:///tmp/snowsql/load/data/scoreboard/data_0_0_0.json @team_stanging_stage;

Snowflake Internal Stage – Copy Into Database Table
Now that my file has been staged I can now copy this into a database table. There are two ways that I can do the copy. First is by simply specifying the MATCH_BY_COLUMN_NAME option. Since my JSON record matches the column names in my database table, this is a straightforward way to run the copy command. In addition, since I already uploaded the file in my Internal stage, I can also run this command directly in the Web Interface.
list @team_standing_stage;
copy into team_standing from @team_standing_stage/data_0_0_0.json.gz MATCH_BY_COLUMN_NAME=CASE_INSENSITIVE;
select * from team_standing;

In the above screenshot, notice that that the staged file has been compressed automatically during upload. Therefore, the gz extension is included in the staged file name.

And as you can see, the records have been copied successfully in my database table! The second option to copy into the table is to explicitly apply the mapping between your table columns and JSON attributes. This method is helpful if your attributes do not exactly match your table columns.
copy into team_standing(id, team, game_result, timestamp) from (select $1:id, $1:team, $1:game_result, $1:timestamp from @team_standing_stage/data_0_0_0.json.gz);
After copying the records in my database table, I can simply delete the uploaded file to save some storage space
remove @team_standing_stage/data_0_0_0.json.gz;
Snowflake Internal Stage – Download JSON data to local
Now that we know how to Copy the uploaded data file in Snowflake Internal Staging. It is also, quite easy to download or unload data from your database into your local computer. Similar operation, we will need a stage location where we can copy the records in a file. We can also use the same stage we already created, with the same FILE_FORMAT = 'JSON', but using a different file path.
Since I want to generate a JSON file, I am gong to use the OBJECT_CONSTRUCT to format the records into a JSON Object per line. Also, disabling the file compression.
use database scoreboard;
copy into @team_standing_stage/unload/ from (select OBJECT_CONSTRUCT('id', id, 'team', team, 'game_result', game_result, 'timestamp', timestamp) from team_standing) file_format = (TYPE = 'JSON' COMPRESSION = NONE);
list @team_standing_stage;

To download the staged file, this time I will be using the GET command. Again, running the command using snowsql in my local computer. Then specifying the full path of the staged file and where I want it stored in my local.
get @team_standing_stage/unload/data_0_0_0.json file:///tmp/snowsql/unload/data/scoreboard/
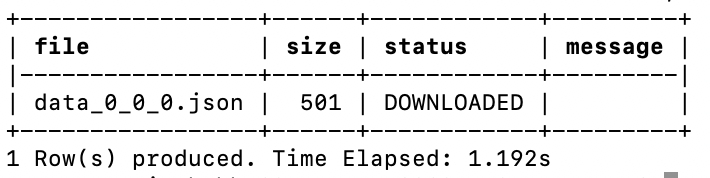
And that’s it! I successfully downloaded the records from a Snowflake database table.
Summary
In this Snowflake Getting Started tutorial, we learned the different components of Snowflake service such as Virtual Warehouse, Database and Staging location. We started using Snowflake Web Interface Snowsight and also their SnowSQL CLI tool. Finally, we learned how to use the Internal Staging to upload and download file. And copy the staged file into a database table to perform a bulk data insert record.
If you enjoyed this tutorial, you might also want to check out Getting Started with Kubernetes.