Install Amazon Corretto and IntelliJ IDEA in Windows

Welcome to another tech topic and this time I am going to discuss about Java programming on how to Install Amazon Corretto and IntelliJ IDEA in Windows operating system.
What is JDK, JRE and JVM?
Java Development Kit (JDK) in a basic sense, is a software that you use to create Java application. JDK is for compiling the source code into a byte code making it executable with Java Virtual Machine (JVM). Then there is Java Runtime Environment (JRE), which is a software package that contains environment libraries including the JVM, that are necessary to run a Java application.
Who needs what? JDK includes JRE and JVM. And JRE includes JVM. If you are writing and running Java application, you need to install JDK. On the other hand, if you just run Java application, then you only need to install JRE.
Amazon Corretto OpenJDK
As mentioned in their website, Amazon Corretto is a no-cost, multiplatform, production-ready distribution of the Open Java Development Kit (OpenJDK).
There are many vendors that offers a distribution of JDK like Oracle, Azul, jdk.java.net, etc. I am not going to comment on which one is better, but the Long term support (LTS) is definitely a factor here. The earlier version Corretto 8 will have support until 2023 and Corretto 11 is until 2024.
Install Amazon Corretto in Windows OS
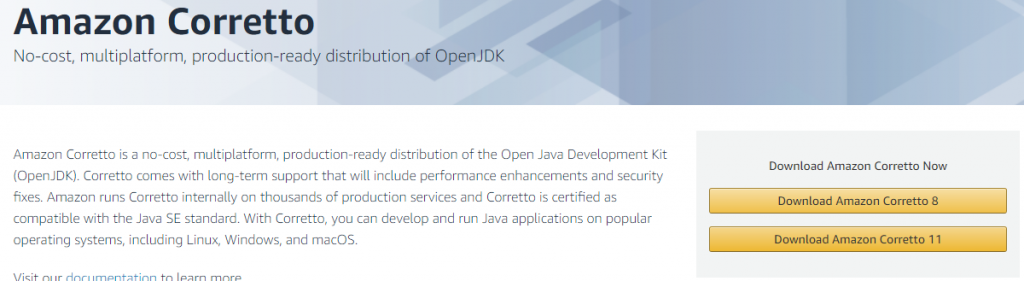
Search in your browser “Amazon Corretto” or go to their website using this link. Then click on “Download Amazon Corretto 11” and look for “Windows x64” bit platform and download the executable .msi.
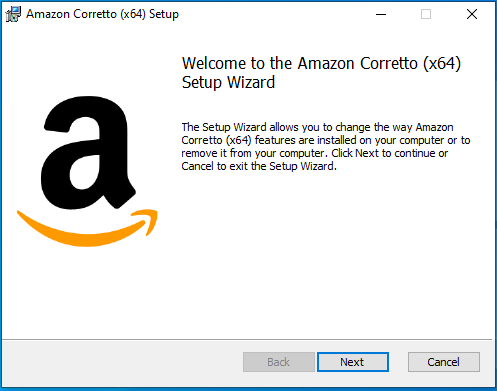
Open the executable file then follow the installation wizard.
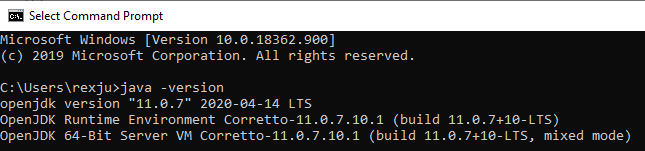
After a successful installation, verify the version of your Java by opening the command prompt and type in java -version.
IntelliJ IDEA
IntelliJ IDEA by JetBrains, is a popular IDE for developing Java application. It has many useful tools like debugger, version control, code-completion and test runner. In addition, it also supports several other languages like Groovy, Kotlin, JavaScript and SQL. Checkout its list of features.
Install IntelliJ in Windows OS
Search in your browser “IntelliJ IDEA” or go to their website using this link. For this tutorial I am going to download the Community edition, but if you plan to use this at work you should try their Ultimate edition and take advantage of the thirty days free-trial.
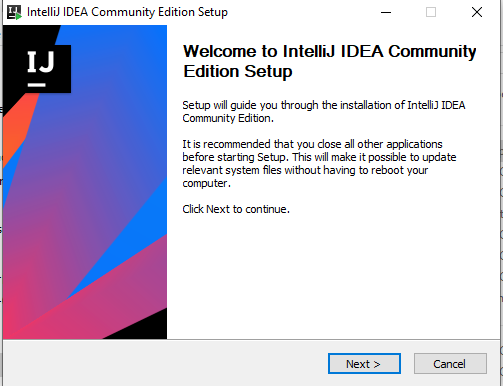
Open the executable file then follow the installation wizard.
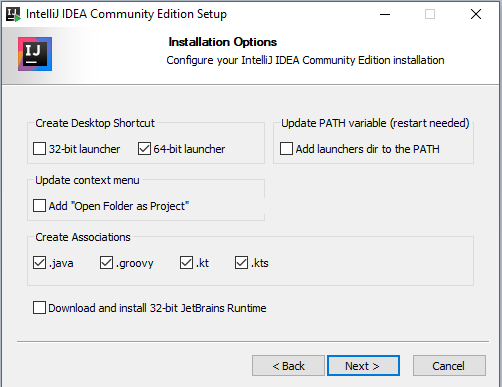
In the Installation Options, put a check on 64-bit launcher and create associations on .java, .groovy, .kt, .kts file extensions
Customize IntelliJ
After installing IntelliJ launch the application and the next steps are customizing the project settings, plugins and themes.
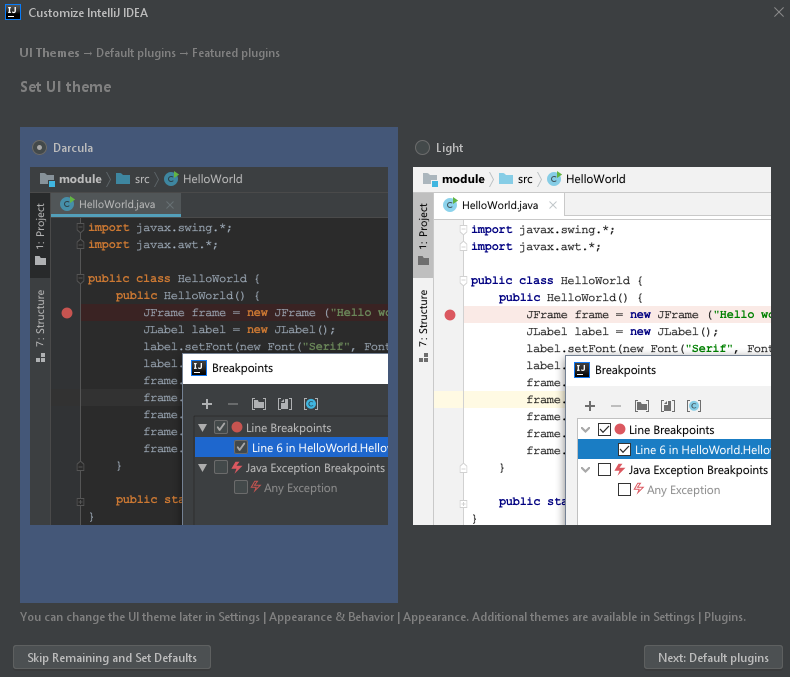
Set the UI theme that you prefer.
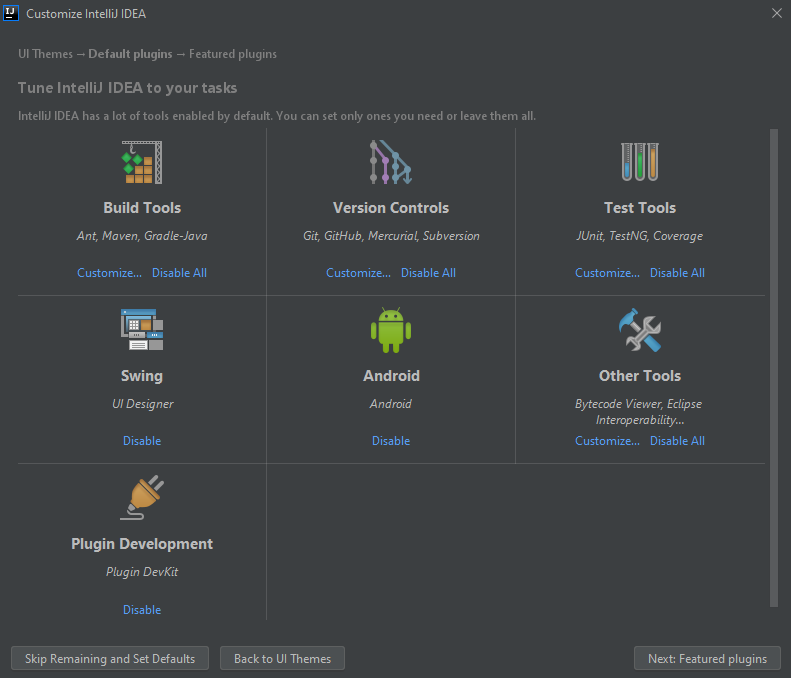
Set the plugins that you will be needing.
Structure for new projects – Using Amazon Corretto OpenJDK

To run our Java program in IntelliJ we must first configure the “Structure for New Projects” to use Amazon Corretto OpenJDK.
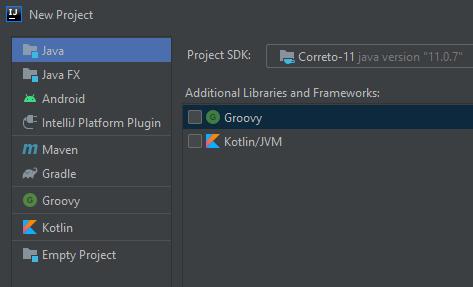
In Project SDK, locate the installation of Amazon Corretto in your computer. Revisit the installation part in this tutorial if you need to.
IntelliJ Additional Settings – Auto Import, Code Folding, Appearance
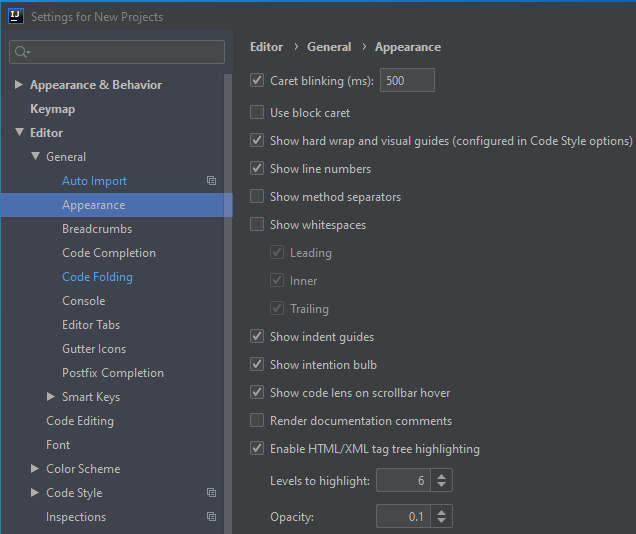
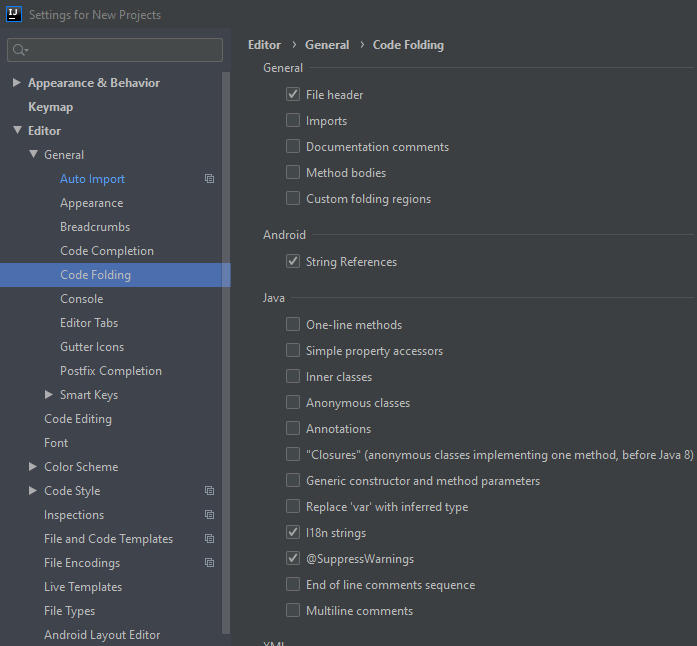
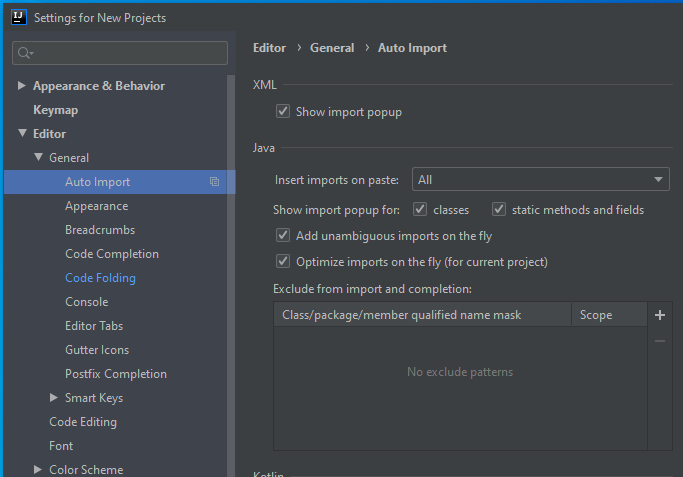
In addition, you may also setup the editor response and appearance while you are coding.
Create our first project in IntelliJ
By selecting the option to “Create project from template” IntelliJ will setup the workspace with default file structure including a Main.java file, that also contains a basic class Main.
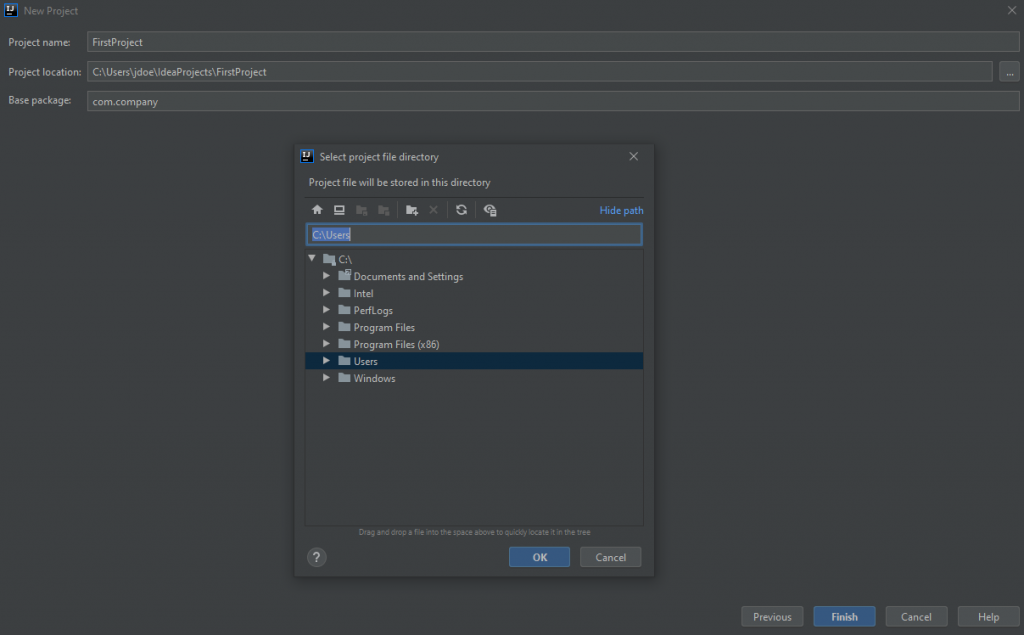
Finally, giving our project a name, location and base package.
Hello World
package com.company;

public class Main {

    public static void main(String[] args) {
        System.out.println("Hello World");
        String name = "Rex";
        char gender = 'M';
        int favNumber = 100;
        System.out.println(String.format("Name: %s; Gender: %s; Fav Number: %d", name, gender, favNumber));
    }
}
Let’s print the classic “Hello World” in our newly setup IntelliJ to demonstrate some of its features.
Our Java program here is pretty basic, printing “Hello World”, setting three variables with primitive types char and int, and a String class. At the end the variables name, gender and favNumber will be printed out in a formatted string.
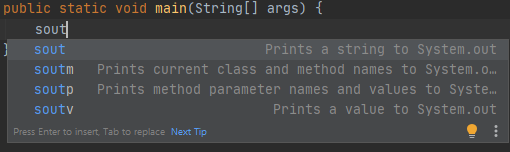
Now let’s take a closer look to what IntelliJ is doing here. Firstly is the code-completion. You are getting hints of the functions available by typing the first few letters of its name.
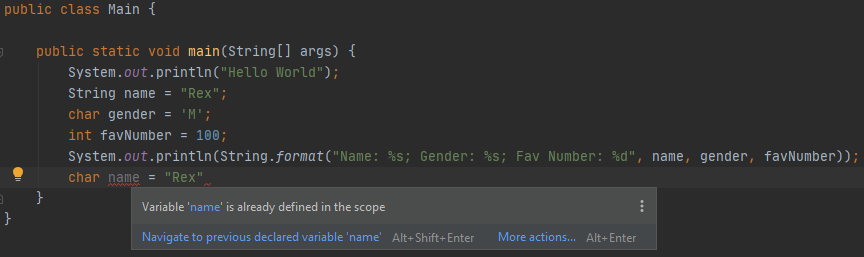
Secondly is the error analysis. This feature is really helpful for debugging. It is giving a quick insight of the codes, making it easy to spot syntax errors.
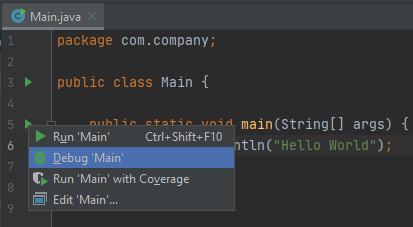
Lastly is the ability to run your codes and see the output in its builtin console. The play icon will instantly run the Java program inside the function main.
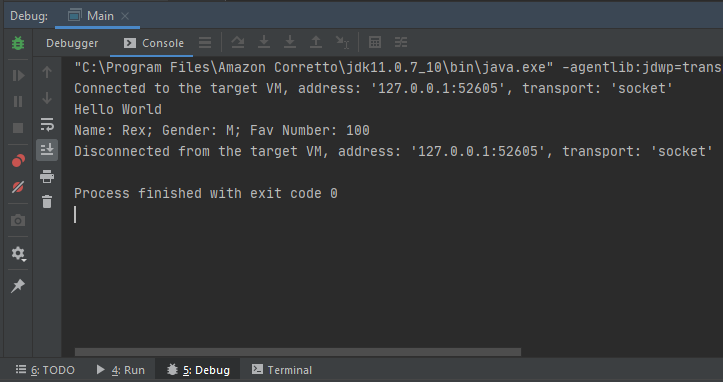
By running the function main as a result you will get the output in its builtin console. Also, you can find traces of the error if your codes have problems.
I think these are all great features and if you are trying to learn Java programming the code-completion and error analysis is a good way to teach your self of the syntax.
Summary
To summarize what we accomplished here, we have learned how to Install Amazon Corretto and IntelliJ IDEA in Windows. We also setup Amazon Corretto OpenJDK in IntelliJ to run our Java program. And we’ve seen some of the builtin features in IntelliJ.