Getting Started with Kubernetes
This “Getting Started” tutorial will focus on the important components of Kubernetes so you can start applying what you will learn here quicker. Lets not get overwhelmed with all the terminologies and functionalities that Kubernetes has to offer. But instead, we will learn just enough here so we can set up a local cluster and get our hands on the fun stuff on the next part of this series of tutorials. Learning is by doing it anyways!
If you want to dive deeper on the Kubernetes documentation, please visit kubernetes.io.
Kubernetes Introduction
Kubernetes (k8s for short) is an open-source application for orchestrating deployments of containerized application. With Kubernetes, you can automate your deployment. Auto-scale and load balance your application containers. Monitor the health of containers and get replaced automatically when it is down.
To use Kubernetes, you need to first set up your Kubernetes Cluster (K8s will not manage this for you!). You can deploy your cluster in a bare metal or virtual host server, in your local or into the Cloud. If you don’t plan to manage your own Kubernetes Cluster, you can simply have it hosted by a Cloud solutions provider.
Getting Started with Kubernetes Cluster
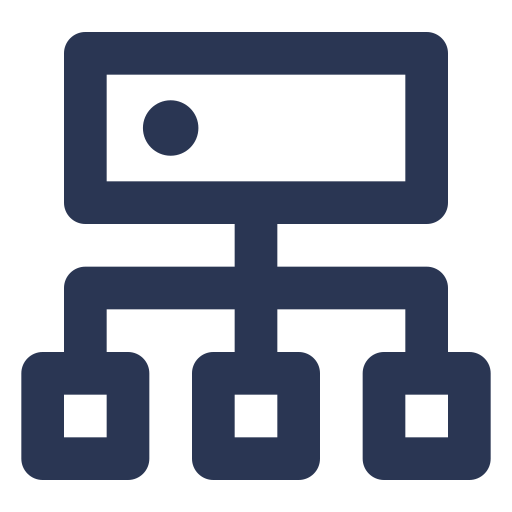
A Kubernetes cluster is a collection of nodes that hosts and controls the Pods that run a containerized applications.
Kubernetes Cluster Components
Master and Worker Nodes – The Master node is a server that controls the resource objects in the Worker node. It has the API Server that communicates with the Kubelet service agent in the Worker node, which is simply a server with computing resources (CPU, Memory, Storage, etc.) that hosts one or more Pods that runs the container(s).
kube-apiserver – Exposes the API, being the front end for the Kubernetes control plane.
Scheduler – The scheduler in the Master node keeps track of new Pods and selects a worker node to run them on.
kube-controller-manager – Is a daemon that watches over the state of your cluster. It is a component in the Control plane that runs controller processes. For instance, it watches over the Worker node, making sure of the correct number of Pods up and running. In addition, cloud-controller-manager is similar to kube-controller-manager but it is used by Cloud service providers to integrate with their own API.
kube-proxy – Is a Proxy setup on the Worker node that controls the network traffic of the Pods.
Kubectl Command-line tool
Kubectl is the CLI tool for sending commands to the Kubernetes cluster. A tool for sending instructions to the cluster.
Getting Started with Kubernetes Objects

Now that we know something about Kubernetes cluster, the next question is, how do I use this cluster to host my containerized application?
In Kubernetes systems, you will deal with Objects. Kubernetes understand these objects to represent the state of a cluster. For example, if I want to deploy a couple of Pods I will need to create a Deployment object. Then Kubernetes will interpret the object configuration and apply this to create and set up the resources for that Pod, and deploy to the worker node.
I want to focus on the following Kubernetes objects that I will use to deploy a web application on my next tutorial.
Pod
Pod is the smallest computing unit of resource you can deploy in Kubernetes. A Pod host one or more (tightly coupled) containers. That means, your containerized application will run inside a Pod.
A Kubernetes Pod can support several container runtimes, but the most popular is Docker.
Deployment
You can create a Pod object directly, but you don’t usually do that. Instead, you create a Deployment object to manage the Pods and its Replica sets.
With Deployment object, you define a desired state. For instance, I want two replicas for my application. Kubernetes Deployment will change the actual state of my Pod to be in a desired state I specified (E.g. From 1, it will become 2 Pods).
Volume
Once you have your Pod up and running, use Volume object to persist the data from your application or share this with the other Pods in your cluster.
More than the concept of volume in Docker, which is a path to a directory on your host’s disk. Kubernetes has more powerful volume management that it can support different types of volumes. You can also attach multiple types of volume to a Pod.
It is important to mention about the different volume types, keep in mind about an Ephemeral and Persistent volumes. With Ephemeral, the existence of your volume also depends on the lifetime of your pod. When a Pod is destroyed or re-deployed, the data inside that Pod is also deleted. Therefore, if you need your data beyond the life of a Pod, you need to use a Persistent volume type. Moreover, with an independent Persistent Volume (PV), you can detach from both the Pod and the Node from which your application is running on, to have a truly persistent data.
Out of the many volume types that Kubernetes supports, I wanted to mention about Container Storage Interface (CSI). Because CSI is also used by cloud service providers to integrate their own implementation of volume drivers in Kubernetes. For example, there are AWS EBS-CSI and EFS-CSI, Azure Disks, Files and Blob CSI.
Service
Service object is for exposing your Pod in the cluster (to other Pods) or externally to the outside world. Kubernetes gives each Pod its own IP address and an internal DNS name, that allows load-balancing across Pods.
When setting up a Service object, you can specify what type of exposure you want for your Pod. It could be one of ClusterIP, NodePort, LoadBalancer and ExternalName. The default is ClusterIP, that will make the Pod accessible within the cluster. Use NodePort to make the Pod accessible from the outside network. LoadBalancer is also accessible from the outside network and in addition, it utilizes a load balancer of the infrastructure.
Manage Objects using Imperative or Declarative approach
When doing Imperative approach, you manually execute the commands built into the kubectl to create or manage resource objects. This approach is okay if you just have to manage a few objects. But as your cluster grows, running a set of commands repeatedly is not ideal and prone to human error. That is when the Declarative approach becomes very handy and powerful. For example, if I want to create a deployment for a Pod and expose this to the external network, I need to run multiple commands.
kubectl create deployment NAME --image=image-from-docker-hub-repo
kubectl expose deployment NAME --type=NodePort --port=8080
With Declarative approach, you define a configuration file and apply the changes to your cluster. You still need kubectl but you only need to run the same command for all your configuration files. Bundle your configurations for multiple objects into one file when they are logically related. Deployment process as a code makes it easy to re-deploy your cluster on another host server. For example, I can easily apply my deployment and service YAML configurations to my cluster.
kubectl apply -f k8s-deployment.yaml -f k8s-service.yaml
Summary
We now know that Kubernetes is for managing containerized application. It is a container orchestration tool. It is not a container engine, but it can support multiple container engine such as Docker. Also, we started looking at Imperative VS Declarative approach on managing Kubernetes Objects. And while Kubernetes manage the objects inside your cluster, you will need to set up and manage the cluster infrastructure itself.
I hope that I have given you enough introduction about Kubernetes that you are now ready to jump in the next topic where I will discuss setting up a Kubernetes cluster using Minikube and deploying a containerized application. Surely we are just getting started with our Kubernetes discussion!